⏱️ Your First 60 Minutes
- Close every curtain in your house — zombies see movement through glass
- Clear the house: kill any zombie inside with your starting weapon
- Grab a bag — a garbage bag or school bag beats bare pockets
- Take all the food — canned goods first, they never spoil
- Find a weapon — kitchens have knives, garages have hammers
Project Zomboid has one job: to kill you. The opening screen says it plainly — “This is how you died.” Every run ends the same way. The only question is how long you last.
Build 42 (stable since July 2026) is the biggest overhaul the game has ever had. The map doubled in size, animals roam the countryside, crafting got rebuilt from scratch, and nights are genuinely dark now. If you’re starting fresh, you’re learning the deepest version of the game ever made — which is great, because there’s never been a better time to start. This guide will get you through your first week alive.
Before You Start: Pick the Right Mode
When you hit Solo, you’ll see several game modes. For your first run, you have two sane choices:
Survivor is the intended default experience. Zombies are dangerous but fair, loot is reasonable, and the settings match what most guides (including this one) assume. Start here.
Builder is the same game with weaker, slower zombies and more loot. There is zero shame in starting here. You’ll learn the mechanics — looting, crafting, base building — without getting mobbed on day two. Many experienced players still prefer Builder for long creative runs.
Avoid Apocalypse and the challenge scenarios until you’ve survived at least a week on Survivor. Sandbox mode lets you tweak everything, but the defaults are well-tuned — leave them alone for now.
One critical Build 42 note: old Build 41 saves do not work in Build 42. Everyone started fresh. You’re not behind.
Character Creation: Don’t Overthink It (But Don’t Randomize Either)
Your character is built from an occupation plus positive and negative traits. Points are the currency — negatives give you points to spend on positives.
Best Occupations for Beginners
Lumberjack is the community’s default beginner pick for good reason. It’s cheap (costs 0 points) and gives you faster axe swings plus a strength-adjacent bonus with axes — and axes are the best early melee weapons in the game. You will find axes everywhere. This synergy alone will save your life.
Fire Officer starts with sprinting and axe skill, plus decent fitness. Great if you want to fight more than you sneak.
Park Ranger gets foraging and trapping bonuses, which solve your food problems faster. Excellent if you’d rather avoid combat and live off the land.
Avoid the new Build 42 crafting occupations (Blacksmith, Welder, Crop Farmer, Livestock Farmer, Tailor) for your first run. They’re powerful for long-term self-sufficient bases, but they cost points you’d rather spend on survival traits, and their payoff comes weeks in — not days.
Traits: What to Take
Take these positives:
- Keen Hearing (6 pts) — hear zombies through walls and around corners. This is the single best survival trait in the game.
- Cat’s Eyes (2 pts) — see better at night. Build 42 nights are much darker than before, so this matters more than ever.
- Outdoorsman (2 pts) — immunity to the misery of rain and cold. You’ll be outside a lot.
- Fast Learner (6 pts) — 33% faster XP gain. Compounds over your whole run.
- Stout (6 pts) — more carry weight and knockback. Simple, effective.
Fund them with these negatives:
- Smoker (-4 pts) — cigarettes are everywhere in Knox Country. Manageable.
- High Thirst (-6 pts) — water is plentiful early on. Annoying, not deadly.
- Hearty Appetite (-4 pts) — food is abundant in the first weeks. Fine.
- Prone to Illness (-4 pts) — avoid standing in rain and you’ll rarely notice it.
- Slow Reader (-2 pts) — skill books take longer. You’ll be busy surviving anyway.
Never take: Thin Skinned (scratches become bites — death sentence), All Thumbs (slow weapon transfers get you killed), Illiterate (can’t read skill books at all).
Appearance and Name
Purely cosmetic. Name your survivor something you’ll remember — you’ll be reading their obituary soon enough.
Where to Spawn: Pick Rosewood
You choose a starting town. For beginners, the answer is Rosewood, no contest:
- Smallest town, fewest zombies
- Police station and fire station close together (guns + axes)
- Self-contained — you can loot the whole town without traveling
- Quiet outskirts for a first base
Riverside is the second choice — slightly bigger, nice gated community for basing, but more zombies on the main road.
Avoid West Point and Muldraugh until you know what you’re doing. Muldraugh is a zombie-packed highway trap that has ended thousands of first runs. Louisville is endgame territory.
Your First Day: Hour by Hour
You spawn in a random house in your chosen town. It’s 9 AM on day one. The power is on, the water runs, and there are canned beans in the kitchen. This grace period lasts roughly 2–9 days before utilities shut off. Use it.
Hours 1–3: Secure Your House and Gear Up
- Close every curtain. Walk to each window, right-click, close curtains. Zombies see movement through glass. This is the most-skipped step and the most punished.
- Check every room. Kill any zombie inside with your starting weapon (a rolling pin, hammer, or kitchen knife — whatever the house gave you). Fight indoors only when you must; lure them outside if you can.
- Grab a bag. Kitchens have garbage bags, bedrooms have school bags or purses. Anything beats your bare pockets.
- Take all the food. Canned goods first (they never spoil), then perishables you’ll eat today. Check fridges and freezers.
- Find a weapon. Kitchens have knives. Garages have hammers. If you spot an axe, drop everything and take it — you’re a Lumberjack, this is your destiny.
Hours 3–6: Learn to Move
Project Zomboid’s movement is its stealth system:
- C (crouch) is your default state outdoors. You move slower but zombies notice you far later.
- Q shouts. Never press Q. Ever. (You’ll press it by accident at least once. We all did.)
- Spacebar shoves. Your most important combat button — it knocks zombies back and down without tiring you.
- Sneak everywhere. Walking upright down Main Street on day one is suicide.
Combat basics: don’t swing wildly. Let a zombie come to you, shove it down with Spacebar, then stand on it and stomp (aim at the head on the ground). This kills without wearing out your weapon. One zombie at a time — if three converge, walk away. Your legs are your best weapon.
Hours 6–12: Loot Smart
Prioritize in this order:
- Weapon upgrade — axe > hammer > baseball bat > kitchen knife. Check garages, tool sheds, fire stations.
- Can opener — canned food is useless without one. Kitchens and general stores.
- Bags — bigger is better. Schools and clothing stores.
- First aid — bandages, disinfectant, painkillers. Bathrooms and clinics.
- Skill books — grab any you see (Carpentry, Cooking, Electrical especially). You’ll read them later.
Looting rules that keep you alive:
- Never loot a building with more than 3 zombies visible outside. Come back later, or don’t come back.
- Always have an exit. Enter through one door, know where the other is.
- If a zombie sees you, don’t run blindly — walk briskly away, break line of sight around a corner or through a house, then crouch. Sprinting exhausts you and attracts more.
- Houses with boarded windows are usually empty. Houses with open doors had visitors.
Night One: Stay Inside
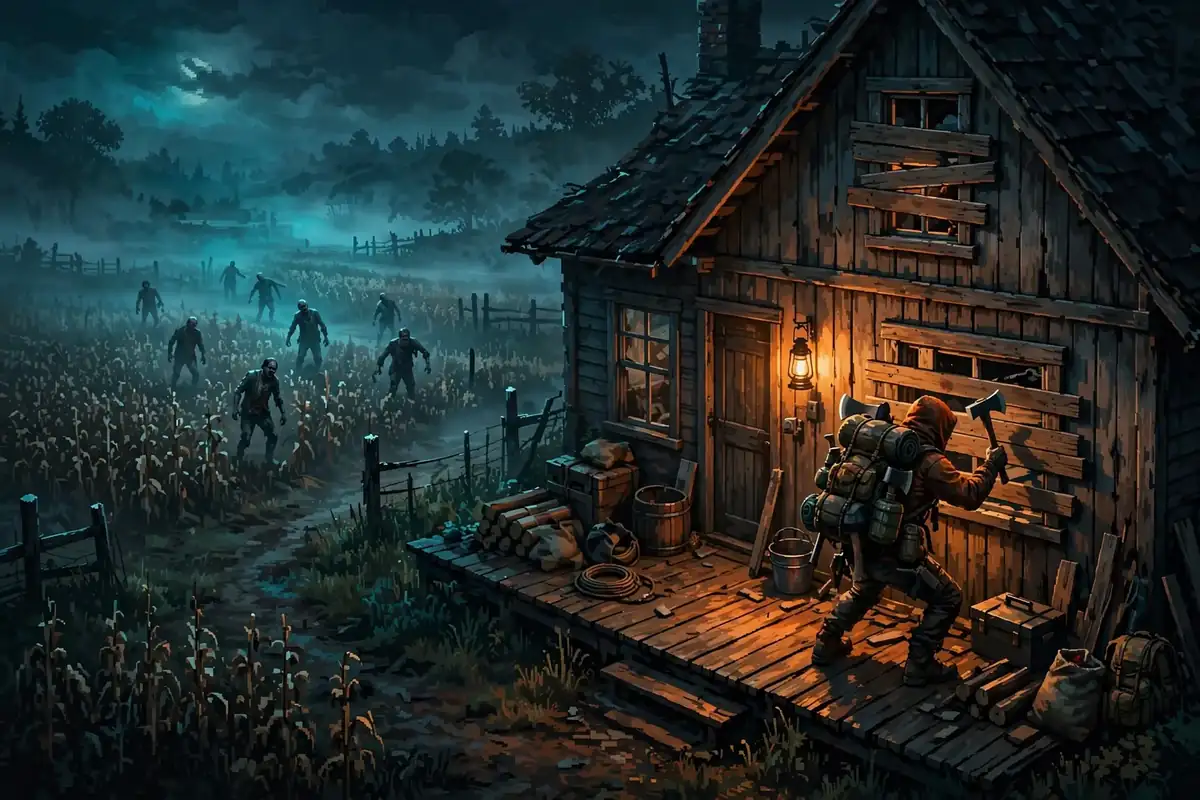
When it gets dark, go home. Build 42’s new lighting means nights are properly black — without Cat’s Eyes or a flashlight, you’re blind, and zombies hear just fine in the dark.
Barricade if you have planks and nails (right-click a window with a hammer equipped). If not, just close the curtains and stay quiet. Read a skill book, eat perishable food before it spoils, organize your bag. Sleep when tired (right-click a bed). You survived day one.
Days 2–7: The First Week Priorities
Find Water Independence
The water shuts off within the first week or so. Before it does:
- Fill every container you own — pots, pans, bottles, buckets.
- Learn Carpentry level 2 (read the beginner book, then build) to make rain collector barrels. Place them outside. Rain in Kentucky is frequent and free.
- Wells exist in rural areas if you’re desperate.
Boil water from rain collectors before drinking (use a pot on a campfire or stove) — or risk sickness.
Secure a Base
You don’t need a fortress on day three. You need a two-story house with one entrance you control:
- Clear it completely, close curtains, barricade ground-floor windows.
- Sheet ropes (made from ripped sheets + nails) on second-floor windows give you an escape route zombies can’t follow — craft them early.
- Sleep upstairs. Always.
- Keep food, water, medicine, and weapons in one organized room.
Good beginner base spots: the gated community in Riverside, isolated farmhouses west of Rosewood, or any two-story house on a quiet street. In Build 42, basements are also excellent — houses can have generated or hand-built basements, including bunkers. A basement base with one stairway entrance is extremely defensible. Check houses for basement doors.
Food: The Clock Is Ticking
Fresh food rots. Your timeline:
- Days 1–7: eat perishables first (meat, dairy, fruit). Raid kitchens and grocery stores.
- Days 7–30: canned goods and dry food (pasta, rice, cereal). These last effectively forever.
- Day 30+: you need a renewable source. This is where Build 42 shines:
- Farming is seasonal now — plant in spring, harvest before winter. Start with cabbages and potatoes (forgiving crops).
- Animals are the big new food source. Chickens for eggs, cows for milk, pigs and sheep for meat. You can tame and breed them — a livestock pen behind your base is a permanent food supply.
- Fishing got a full rework — watch for splashes where fish are active, keep quiet so you don’t scare them, use chum to draw them in.
- Foraging and trapping (Park Ranger territory) work year-round.
Don’t let yourself get overweight or underweight — both drain you. Check your nutrition panel regularly.
Level These Skills First
- Carpentry — barricades, rain collectors, better base. Read books, then disassemble furniture.
- Cooking — safe food, better nutrition from the same ingredients.
- First Aid — bandaging properly is the difference between a scratch and a slow death.
- A weapon skill — Axe (Lumberjack) or Long Blunt. One. Don’t spread thin.
- Farming or Fishing — pick one renewable food skill before day 30.
Read the skill book before practicing — it multiplies XP gain enormously.
Build 42 Things Beginners Should Actually Use
You don’t need to master everything new, but these four matter in week one:
- Darker nights are real. Carry a flashlight or lantern after dark, or just don’t go out. Your night vision is worse than you think.
- Basements exist. When clearing houses, check for basement doors — they’re lootable space and potential shelter.
- Animals are food. If you see chickens or rabbits early, remember the location. By week three, a snare or a tamed chicken is worth more than a grocery run.
- Fire is dangerous now. Build 42 rebuilt fire around materials — it spreads realistically and can take your base with it. Don’t use campfires indoors, and think twice before burning a horde near anything you like.
The 7 Mistakes That Kill Every Beginner
- Fighting more than one zombie. Walk away. Always.
- Running everywhere. Sprinting makes noise and exhausts you. Crouch-walk is the default.
- Ignoring a scratch. Disinfect and bandage immediately. Infections kill slowly, then all at once.
- Hoarding in one trip. Take what you need, go home, come back. Greed gets you surrounded.
- Driving on day one. Cars attract every zombie in earshot. Learn to drive when you’re established.
- Eating mystery food. Rotten food, raw meat, and unknown berries will end you. When in doubt, don’t.
- Getting attached. Your survivor will die. Learn something each time. The next one lives longer.
FAQ
Is Project Zomboid hard for beginners?
Yes, deliberately — but it’s fair. Almost every death is traceable to a specific mistake, which means every run teaches you something. Builder mode softens the learning curve significantly.
What’s the best starting town in Build 42?
Rosewood, for its small size and low zombie density. The new towns (Brandenburg, Irvington, Ekron, Echo Creek) are larger and better explored once you know the basics.
Should I play multiplayer as a beginner?
Build 42 added official multiplayer with anti-cheat. It can be fun, but learn the basics solo first — other players add unpredictability you don’t need while learning.
How long does the power/water stay on?
Randomized per run, usually 2–9 days. Prepare as if it’s day two.
Can I win Project Zomboid?
There is no win condition. Survival is the game. Set your own goals: survive a month, build a farm, clear a town.
This is how you died — but next time, you’ll die later. Good luck out there, survivor.