⏱️ Your First 60 Minutes
- Punch grass for plant fibers, craft a stone axe
- Place a bedroll to set your spawn point
- Gather wood and stone for basic tools
- Find or build emergency shelter before dark
- Loot nearby POIs for food, water, and a cooking pot
If you’ve just bought 7 Days to Die and a zombie is already shuffling toward your fresh spawn, here’s the short version: you have six in-game days of relative peace, then the Blood Moon rises on the night of day 7 and tests everything you’ve built. Every decision you make in week one — what you loot, where you sleep, how you spend skill points — is really just preparation for that one night.
The game is in its best shape ever. It left Early Access at 1.0 (July 25, 2024), and the 2.0 and 3.0 updates — including “Dead Hot Summer” (stable June 29, 2026) — added storms, biome progression, a smell system, and full PC/PS5/Xbox crossplay. The core loop never changed: scavenge by day, fortify by night, survive the horde every seventh night. This guide shows you how.
What 7 Days to Die Is in 2026
7 Days to Die is an open-world survival horror game from The Fun Pimps. It fuses first-person combat, tower-defense base building, crafting, and RPG progression into one loop: explore a procedurally generated world (or the hand-built Navezgane map), loot ruined towns, level up five attributes — Strength, Agility, Fortitude, Intellect, and Perception — and fortify against the Blood Moon horde that attacks every seventh in-game day.
The basics: a full day is 60 real-world minutes, with sunset at 22:00. By day most zombies shamble; at night nearly all of them run — nighttime exploration is a death sentence until you’re geared. You earn one skill point per level, so spend them carefully. The 100+ crafting skill magazines scattered through loot unlock workstations, weapons, and gear. Crossplay works across PC, PS5, and Xbox (since 1.2), and the Steam version is $44.99, regularly discounted.
The 2.0 and 3.0 updates added biome progression (tougher biomes expect proper gear), a smell system (cooking can draw zombies), and dynamic storms. Returning alpha players: the old “rush the wasteland on day 2” advice is dead.
Your First Day, Hour by Hour
You spawn in the morning with a challenge quest chain that teaches the ropes. Don’t skip it — it hands you XP, starter items, and directs you to your first trader. Here’s the play:
Morning: Follow the intro quests. Punch grass and bushes for plant fibers, gather stones off the ground, and chop trees for wood. Craft a stone axe and a wooden club immediately — your first tools and only weapon. Grab cotton (bandages), feathers (arrows), and eggs from bird nests.
Midday: Craft a bedroll as soon as you can — it’s your respawn point, and it stops zombies spawning nearby. Drop it somewhere safe. Then head toward the trader the intro quest marks for you. The quest chain pays out Duke’s Casino Tokens (Dukes), XP, and sometimes gear.
Afternoon: Loot houses and small POIs near the trader. Kitchens have food and cooking pots, bathrooms have medicine cabinets, and garages have mechanical loot. Don’t go deep into big POIs yet — clear ground floors, grab the easy stuff, and leave. Search trash piles, cars, and mailboxes.
Evening: Finish selling by 21:50 — shops close then, and you’ll be teleported outside the safe zone. Pick up a fetch quest for tomorrow, then get indoors before sunset at 22:00. Zombies run at night. You do not outrun them.
Night (22:00–04:00): Stay inside, stay quiet, stay crouched. Craft arrows, bandages, cloth armor, and repair kits. Read every skill magazine and schematic you find. If you must move, sneak — but the veteran move is holing up in an attic or a small room, crafting, and waiting for dawn. Every veteran did exactly this.
Bedroll and Shelter: Your Two Non-Negotiables
The bedroll is your most important day-1 craft. Die without one and you respawn at a random point, kilometers from your dropped backpack. With one placed, you respawn right there — and it creates a small zombie-free zone around it. Place it the moment you craft it, and move it with you as you relocate.
For shelter, take over an existing building first. Find a small house with an attic or second floor, knock out the stairs or block the ladder, and sleep up top — a missing staircase buys you the whole night. Patch holes with wood frames and upgrade the door.
Alternatively, build from wood frames — cheap and upgradeable through wood, reinforced wood, cobblestone, concrete, and steel. Either way, your day 1–6 shelter just needs to keep wandering night zombies out. It’s not your horde base. Don’t confuse the two.
Food and Water: Don’t Starve, Don’t Drink the Drain
Food and water drain constantly — faster when sprinting, fighting, or mining. Let them bottom out and your stamina regen tanks, which is how a zombie you should’ve outrun kills you. Early on, eat what you loot; cook meat once you have a cooking pot and a campfire.
Hunt rabbits, chickens, and deer, then cook the meat — never eat it raw (barely filling, food-poisoning risk). A bone knife harvests far more meat and leather from carcasses than an axe, so make one early.
Boil murky water from toilets and sinks into clean drinking water in batches. For the long term, unlock dew collectors — placeable workstations that passively generate clean water. They’re worth prioritizing, because buying water from the trader every day drains your Dukes fast.
One 2026-specific warning: the smell system means cooking and strong-smelling food can attract zombies. Cook during the day in a defensible spot — not at midnight in an unsecured shack.
The Trader and Quests: Your Fastest Path to Power
The trader the tutorial sends you to is your best friend all week. Buy tools, food, ammo, and armor; sell junk loot for Dukes; and take quests. Fetch quests (grab an item from a POI, bring it back) are the best beginner value: low risk, solid XP and Dukes, and they teach you the local map.
Quests pay XP, Dukes, and often reward items better than your loot. They raise trader standing and unlock higher-tier quests. Don’t grab a tier-3 clear on day 2 with a stone axe — let difficulty scale with you.
Shops open at 04:05 and close at 21:50. The trader compound is a safe zone during opening hours — zombies can’t touch you — but at closing you’re teleported outside the perimeter, ready or not. Never plan to be inside at 21:50, and never rely on the trader as your night shelter.
Five traders (Rekt, Jen, Bob, Hugh, and Joel) are scattered across the map with slightly different stock. Spend early Dukes on things you can’t easily make: a cooking pot, a wrench or ratchet, ammo, and honey or antibiotics for infection.
Crafting Progression: Workbench and Forge
Crafting gates behind two things: skill magazines and workstations. Basic items — stone tools, wooden clubs, cloth armor, arrows — craft straight from your inventory from minute one. Everything better needs a workstation, and the two that matter most in week one are the workbench and the forge.
The workbench unlocks after reading 10 copies of its crafting magazine — loot every bookshelf, mailbox, and crack-a-book store. It’s your general hub: better tools, weapons, armor, vehicle parts, and most mid-tier recipes.
The forge is the bigger prize. Unlock it with 5 copies of the Forge Ahead magazine (or the Advanced Engineering perk, which boosts magazine finds), then build it from 50 cobblestone rocks, 1 wood log, 10 leather, 3 duct tape, and 3 short iron pipes. Leather comes from skinning animals or leather furniture; pipes from wrenching toilets, cars, and air conditioners — one more reason to grab a wrench early.
The forge smelts iron, clay, stone, sand, brass, and lead into forged iron and forged steel — the gateway to iron tools, iron armor, and the wrench, the most useful utility tool in the game for stripping cars and appliances into parts, engines, and batteries. Goal: forge built and smelting by day 4 or 5. It’s the biggest power jump available before the first Blood Moon.
Later comes the chemistry station (bulk glue, gunpowder, gas), but that’s a week-two problem. Week one: magazines, workbench, forge, iron gear. In that order.
Preparing for the Blood Moon: Horde Night 7
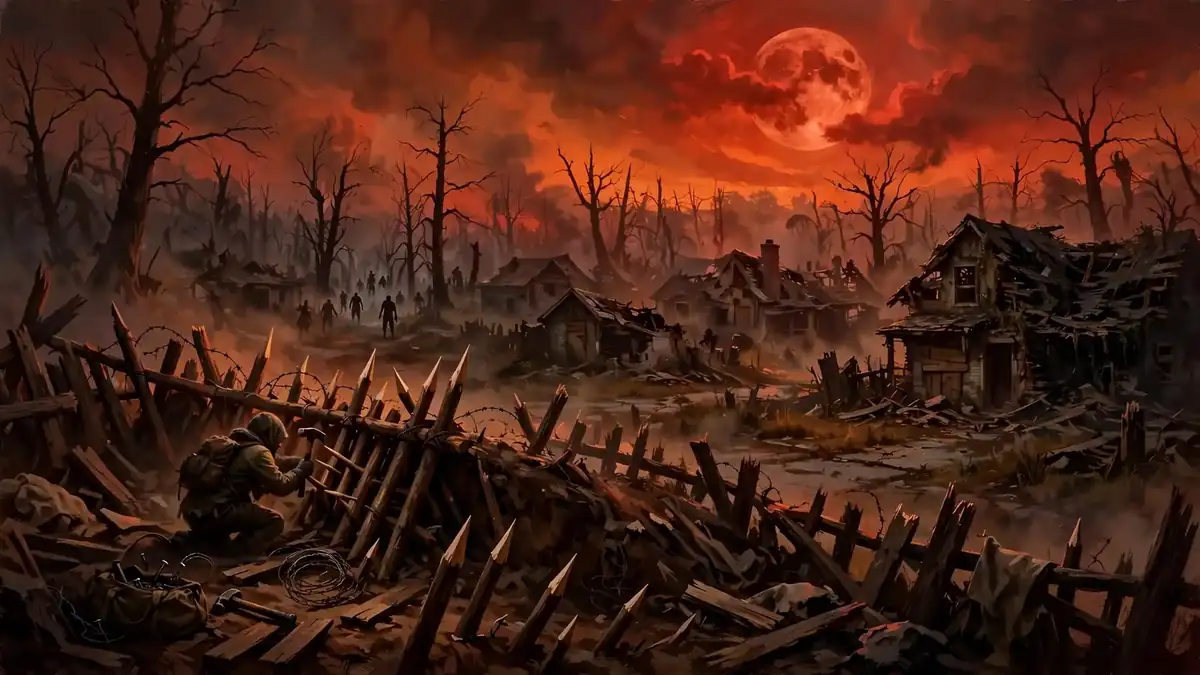
The deadline your whole first week builds toward: on the night of day 7, the Blood Moon rises and a horde runs straight at your position from 22:00 to 04:00 — six in-game hours of waves. The horde always knows where you are. Stealth doesn’t help. Running doesn’t help. You fight it, or you die to it.
The best beginner strategy is a separate horde base — a small, dedicated fighting position away from your main base. Why separate? The horde tears apart whatever you’re standing in, and you don’t want them chewing through your forge, workbench, and storage. A raised platform with one narrow walkway, ringed with traps, is all you need.
Elevate and funnel. Build a platform 3–4 blocks high with one path up — a single-file walkway or ramp. Zombies take the easiest route, so you control where they come from. Fight at the chokepoint with a club, spear, or bow.
Spike traps everywhere. Wooden spikes are cheap (wood + plant fibers) and shred early-game zombies. Ring your horde base with two or three layers; barbed wire slows them inside the funnel, buying free hits. Iron spikes, once your forge runs, are a big upgrade. Place traps before day 7, not during.
Upgrade to cobblestone or concrete. A wood base can survive night 7, but barely. Cobblestone is dramatically tougher and cheap; concrete is better if your forge is running early. Never fight night 7 in a straw-and-prayer shack.
Stockpile, then stockpile more. Bring hundreds of arrows or bolts, bandages, and repair materials. Eat a full meal before 22:00 for max stamina regen. Repair your weapon and armor beforehand — a broken club at 01:00 is a death sentence.
Protect the supports. Zombies dig. If your horde base stands on pillars, they’ll tunnel under and collapse it with you on it. Sink supports deep, armor them, or build on a solid foundation. This kills more first-time horde bases than anything else.
Be in position before 22:00. Traps placed, doors sealed, inventory sorted. When the sky turns red you should be at your chokepoint with a repaired weapon — not sprinting home from a POI.
The horde scales with your game stage, so don’t power-level recklessly on high difficulty. Leave it on Adventurer (the default) for your first run — there’s no shame in it.
7 Mistakes Beginners Make
1. Not placing a bedroll immediately. Die without one and you respawn at a random location, far from your backpack. Craft it in the first hour and never be without one.
2. Exploring at night. Zombies run at night and you don’t outrun them. Night is for crafting and reading magazines indoors — every night outside before you’re geared is a gamble with terrible odds.
3. Fighting the horde in the main base. The Blood Moon horde will demolish whatever you’re standing inside. If that’s your crafting base, you lose your forge, workbench, and storage. Build a cheap, separate horde base instead.
4. Spending skill points randomly. You get one point per level. Put them where they pay: your main weapon skill, inventory perks like Pack Mule, and Advanced Engineering for magazine finds.
5. Ignoring food and water until critical. An empty stomach tanks stamina regen — you can’t sprint, power-attack, or mine. Eat before starving, boil water in batches, and prioritize a dew collector.
6. Skipping trader quests. Quests are the fastest early-game XP, they pay Dukes, and reward choices regularly beat your loot. A daily-quest player is two gear tiers ahead by day 7.
7. Hoarding junk, carrying nothing useful. New players fill inventory with random loot and leave bandages and repair kits at home. Before any fight — especially horde night — your hotbar needs your weapon, bandages, food, and repair materials. Loot is worthless if you’re dead.
Frequently Asked Questions
When exactly does the first Blood Moon happen?
On the night of day 7 by default. The horde spawns at 22:00 and the siege runs until 04:00 — six in-game hours of waves. The game warns you all day, so don’t be caught looting at 21:55. On default settings it’s always day 7, 14, 21, and so on.
What difficulty should a beginner play on?
Adventurer, the default — threatening but fair while you learn. Scavenger is easier for a relaxed first run, but don’t jump to Nomad or higher until you’ve survived one Blood Moon: horde composition scales with game stage and difficulty, and hard settings can spawn zombies your gear can’t handle.
How do I unlock the forge as fast as possible?
Read 5 copies of the Forge Ahead magazine, or invest in Advanced Engineering to boost drop rates. Then gather 50 cobblestone rocks, 1 wood log, 10 leather, 3 duct tape, and 3 short iron pipes. Loot every bookshelf, do trader quests, and wrench apart toilets and cars for pipes. Target: a working forge by day 4 or 5.
Do I really need a separate horde base?
For the first Blood Moon, yes — it’s the best thing a beginner can do. A small elevated platform with a single-file walkway, ringed with wooden spikes and barbed wire, costs little and keeps the horde away from your forge, workbench, and storage. Fighting inside your crafting base means the horde destroys your progression too.
What should I buy from the trader early on?
Prioritize things you can’t easily craft: a cooking pot, a wrench or ratchet, ammo, and honey or antibiotics for infection. Sell junk loot, spare mods, and duplicate clothing for Dukes. Remember the hours — shops open 04:05, close 21:50, and you’ll be teleported out at closing time.
Survive night 7 and something clicks — the panic turns into a plan, and the plan turns into a base that laughs at night 14. See you at the chokepoint, survivor.